Cisco Video Surveillance Recovery Guide for UCS Express Platform
Available Languages
Table Of Contents
Video Surveillance Recovery Guide for UCS Express Platform
Video Surveillance Recovery Guide for UCS Express Platform
November 2012This guide describes the procedure to recover a virtualized Cisco® Video Surveillance Manager (VSM) on the Cisco Unified Computing System™ (UCS) Express platform.
Contents
This document includes the following sections:
Introduction
This guide describes the procedure to recover a virtualized VSM on the UCS Express platform.
Audience
This recovery guide is intended for use by Cisco System Engineers, Physical Security Advanced Technology Provider (ATP) partners, and technical field staff that are developing and implementing Cisco Video Surveillance and UCS Servers for branch office and data center solutions.
A successful implementation also requires additional knowledge in the following areas:
•
Cisco ISR-G2 (29xx/39xx Series) Internetwork Operating System (IOS) router configuration
•
Assumptions
This guide details instructions for the recovery of VSM on UCS Express on the ISR G2 and assumes that data has been backed up and is available for restoring on the new recovered image. For backup instructions, see the Cisco Video Surveillance Manager Install and Upgrade Guides at http://www.cisco.com/en/US/products/ps9152/prod_installation_guides_list.html.
Recovering the VSM on the UCS

Note
To recover the VSM on the UCS:
Step 1
Note
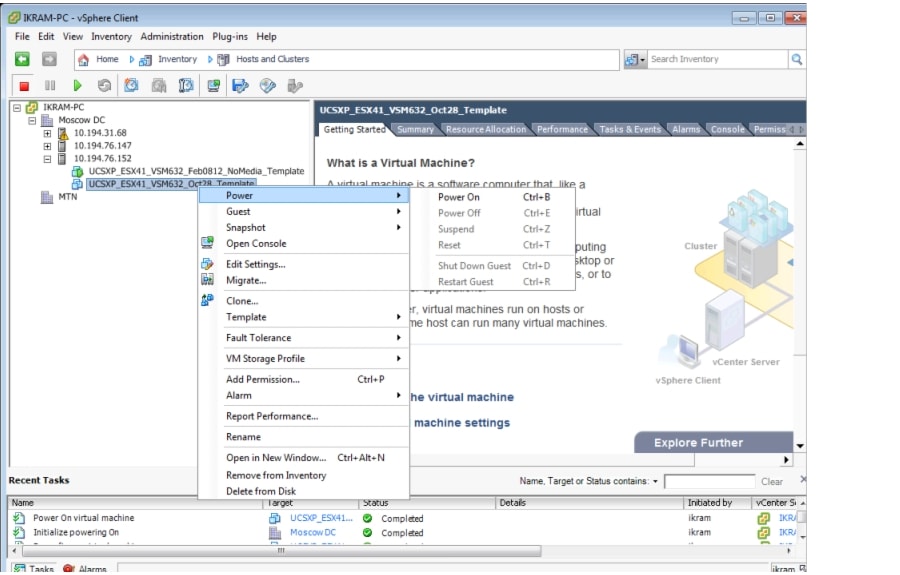
Step 2
Figure 1 vSphere Client Software—Powering Off the VSM VM
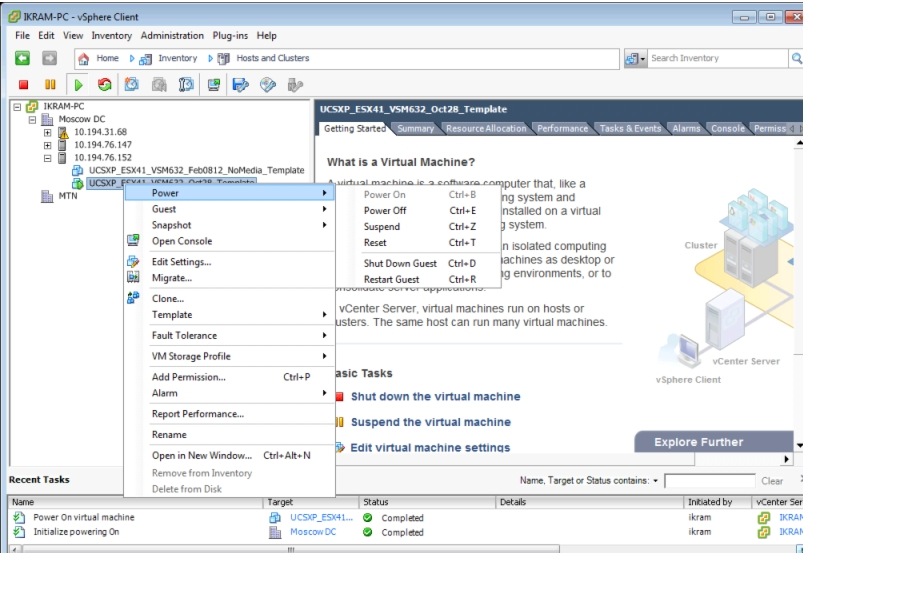
Step 3
Step 4
Figure 2 Deploying the OVF Template

Step 5
Figure 3 Current Summary of Selected VM
Step 6
Figure 4 Adding a Hard Disk

Step 7
Figure 5 Selecting Device Type (Hard Disk)

Step 8
Figure 6 Selecting the Disk Type to Use

Step 9
Figure 7 Select an Existing Disk

Step 10
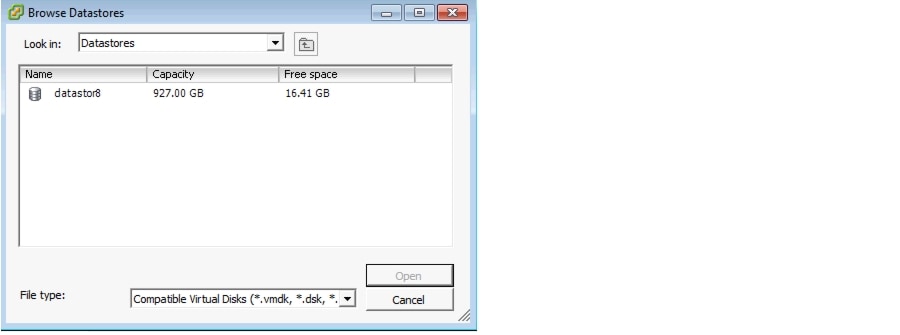
Figure 8 Browsing Datastores
Step 11
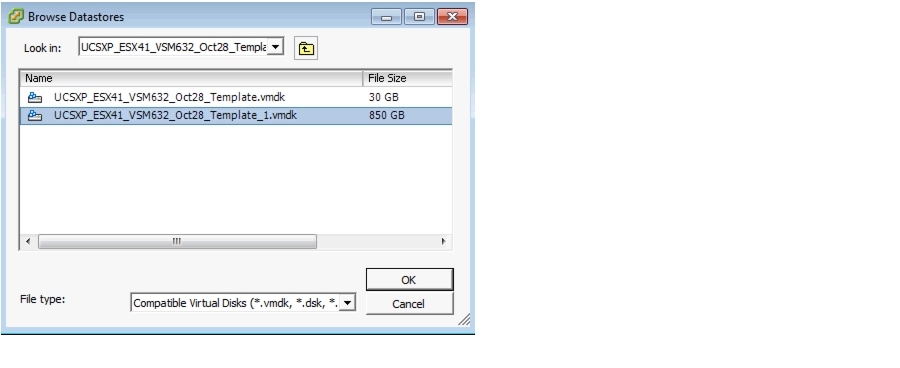
Figure 9 Browse Datastores (850 GB)
Step 12
Figure 10 Ready to Complete
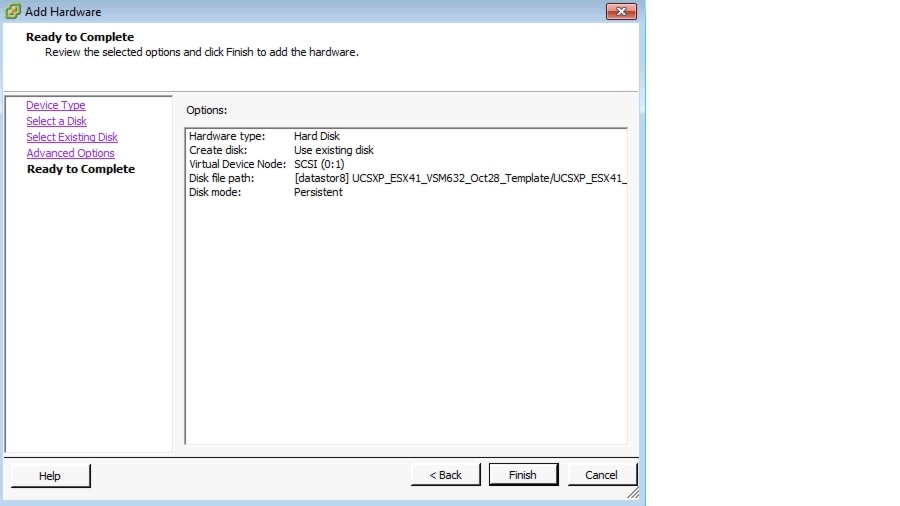
Step 13
Figure 11 New Hard Disk (Adding)

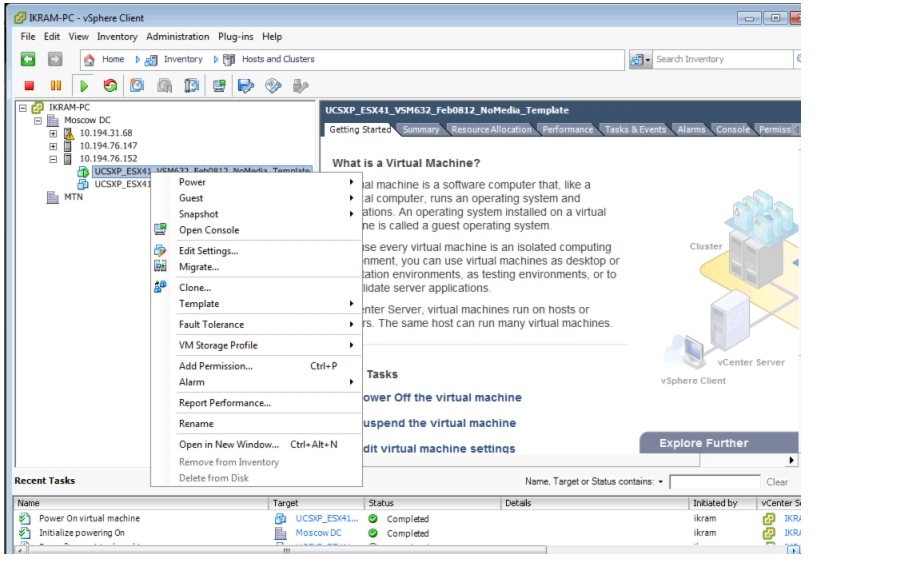
Step 14
Figure 12 List of New VMs
Step 15
Figure 13 Opening the VM Console
Step 16
Step 17
Step 18
Figure 14 YaST Control Center
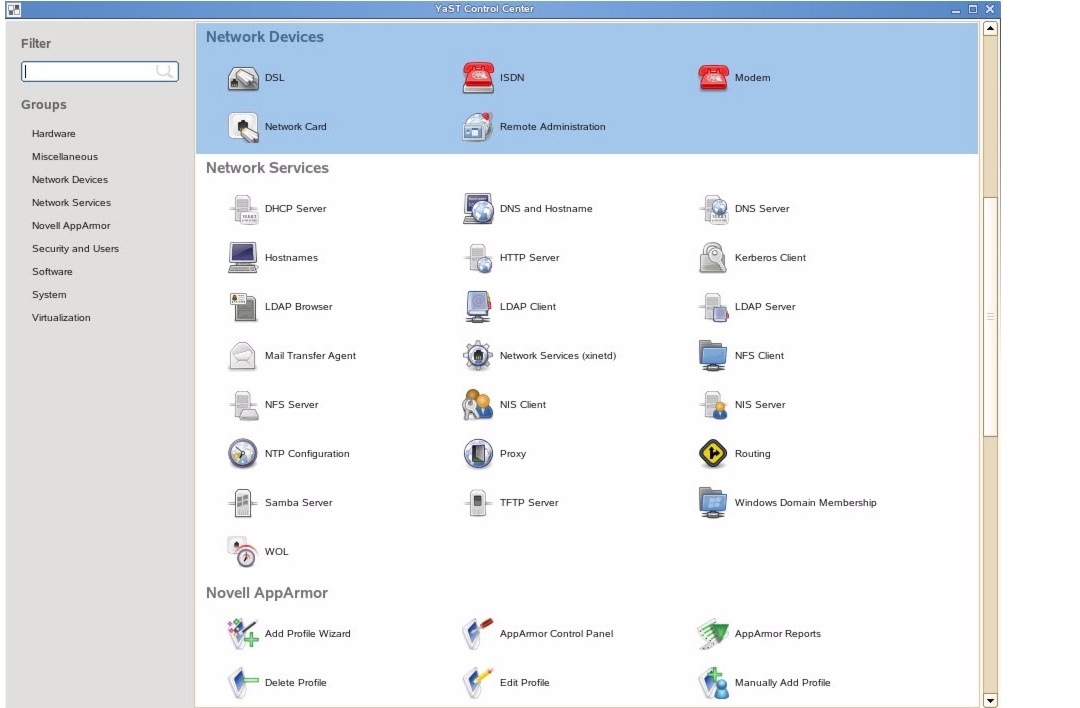
1.
a.
shell> service cisco stopb.
shell> /usr/BWhttpd/bin/vsom_backup_restore -f filenameFor example:
shell> /usr/BWhttpd/bin/vsom_backup_restore -f
VSOM_psbu-dev03_backup_20100128164352.tar.gz
c.
shell> service cisco start2.
a.
shell> service cisco stopb.
c.
shell> gunzip filename.tar.gz e.d.
shell> tar -Pxvf filename.tarFor example:
shell> tar -Pxvf VSMS_PST_backup_20070327153851.tare.
shell> service cisco restart3.
4.

Caution
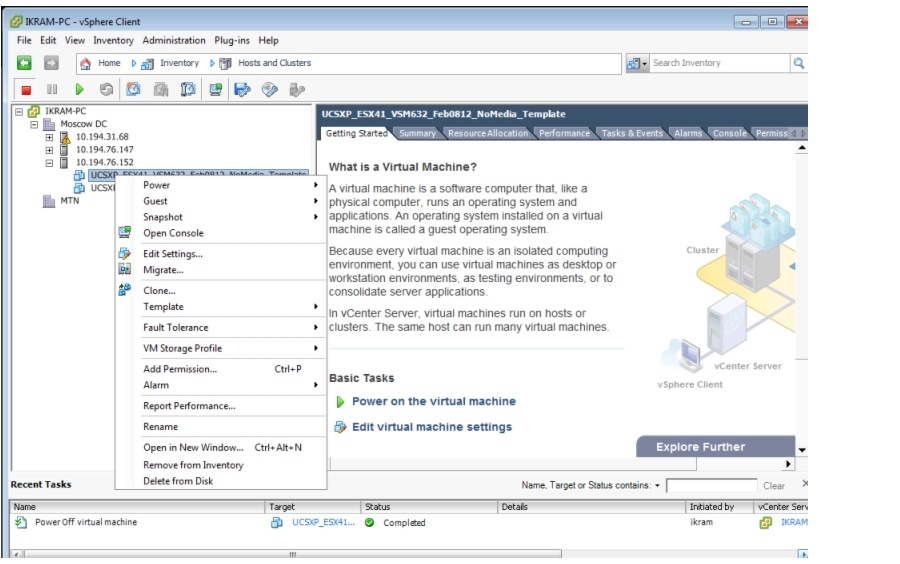
Figure 15 Deleting the VSM VM from the Disk

More Information
For more information about Cisco-related products, see the following resources:
Cisco Physical Security product information:
http://www.cisco.com/go/physec/Cisco UCS Express Install and Upgrade Guides:
http://www.cisco.com/en/US/products/ps11273/prod_installation_guides_list.htmlCisco Video Surveillance Manager Install and Upgrade Guides:
http://www.cisco.com/en/US/products/ps9152/prod_installation_guides_list.html
 Feedback
Contact Cisco
- Open a Support Case

- (Requires a Cisco Service Contract)