Installing Stand Alone Statistics Collection Manager Software
Available Languages
Table Of Contents
Installing Standalone Statistics Collection Manager Software
Installing CWM Statistics Collection Manager Standalone
First Time Login as User svplus
Installing Standalone Statistics Collection Manager Software
This chapter provides step-by-step procedures to install the CWM Release 11 Statistics Collection Manager software on a standalone workstation. The CWM Release 11 Statistics Collection Manager Standalone (SCMSA) software installation uses InstallShield to simplify the process.
Three types of machines are supported for CWM Release 11 SCMSA software as standalone platforms. They are low-end, mid-range, and high-end platforms. Table 8-1 describes the configuration for each platform.

Note
The minimum CPU speed requirement for all platforms is 300 MHz. The newer versions of the Sun Ultra 10 have a 450 MHz processor. All platforms require a 24-bit graphics card.
The maximum number of nodes supported by a given machine configuration is affected by the number of connection being supported by SCMSA. If the number of connections is high, the number of nodes specified in Table 8-1 may not be achieved
Before installing the CWM Release 11 SCMSA software on a standalone SCM workstation, the following software should have already been installed.
•
Install Solaris 2.7 according to the procedure described in Chapter 2.
Installing CWM Statistics Collection Manager Standalone
Installing the Statistics Collection Manager Standalone (SCMSA) software automatically creates a user with the name "svplus".
Note
To install the CWM Release 11 SCMSA software, complete the following steps:
Step 1
Step 2
Step 3
# cd /cdrom/cdrom0# lsStep 4
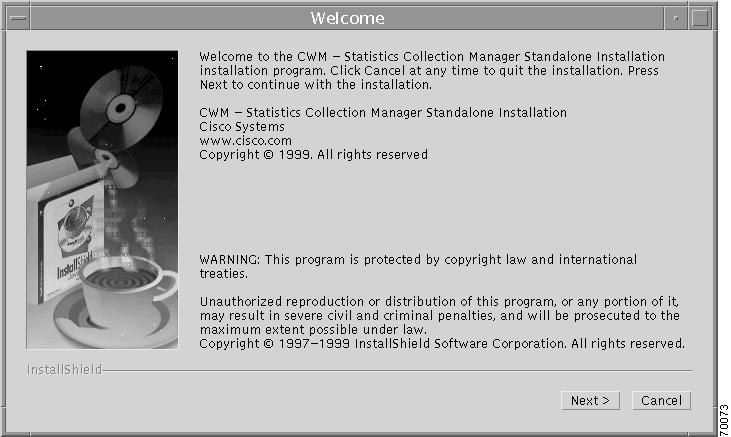
InstallSCMSA.shand begin the install process by entering the following command:# ./InstallSCMSA.shThe SCMSA Installation Welcome window is displayed, as shown in Figure 8-1.
Figure 8-1 SCMSA Installation Welcome Window
Step 5
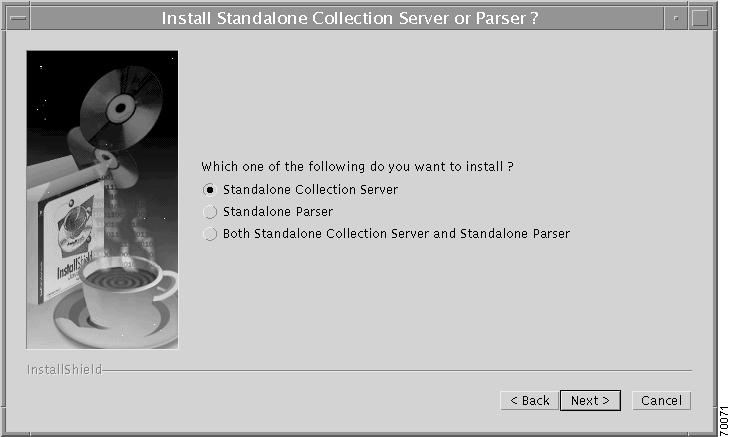
The Install Standalone Collection Server or Parser window, Figure 8-2, is displayed.
Figure 8-2 Install Standalone Collection Server or Parser Window
Step 6
Note
Step 7
Figure 8-3 Meta Devices Window

Step 8
Note
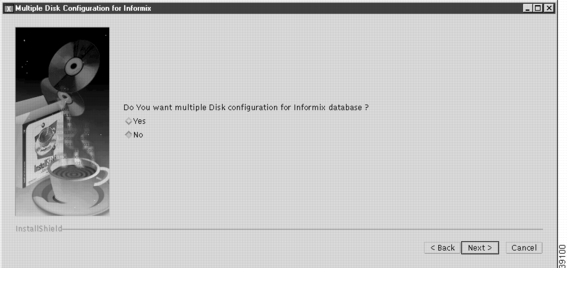
The Multiple Disk Configuration for Informix window is displayed, as shown in Figure 8-4.
Figure 8-4 Multiple Disk Configuration for Informix Window
Step 9
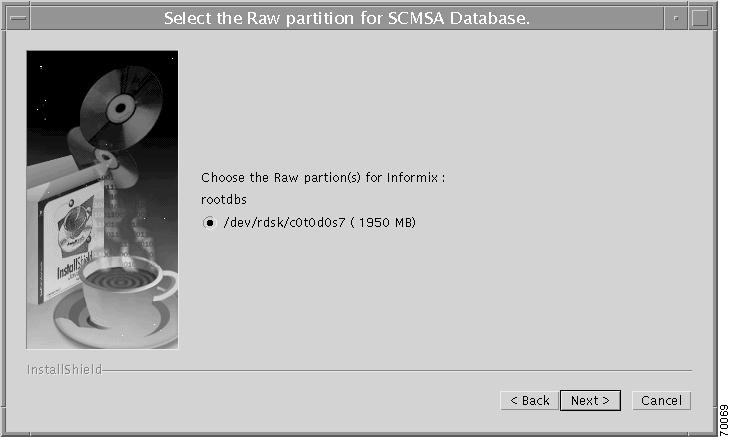
The Select the Raw Partition for SCMSA Database window is displayed, as shown in Figure 8-5.
Figure 8-5 Select the Raw Partition for SCMSA Database Window
Step 10
Note
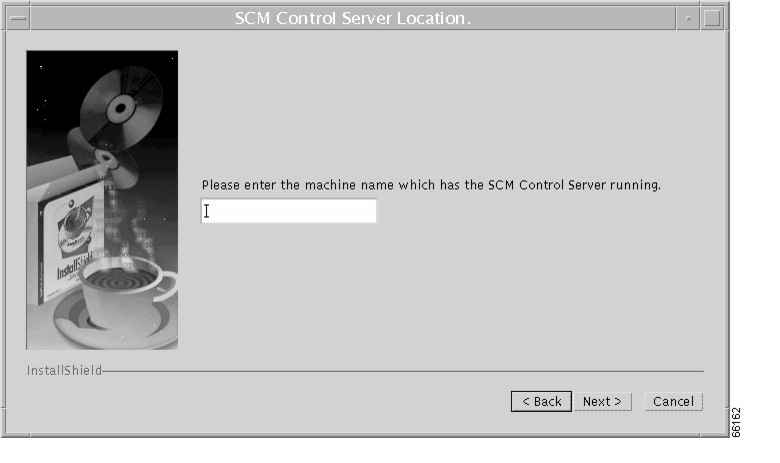
The SCM Control Server window is displayed, as shown in Figure 8-6.
Figure 8-6 SCM Control Server Window
Step 11
The Install Orbix window is displayed, as shown in Figure 8-7.
Figure 8-7 Install Orbix Window
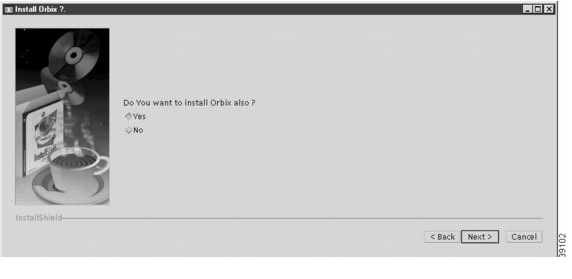
Orbix is the software component that provides the communication capability between CWM gateways.
Step 12
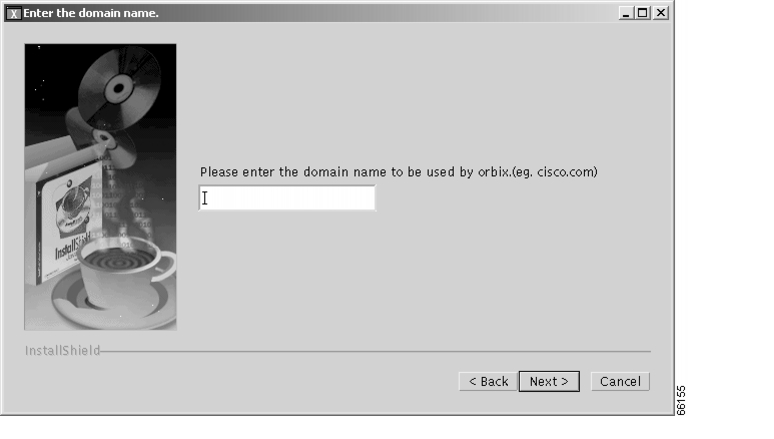
The Enter the Domain Name window is displayed, as shown in Figure 8-8.
Figure 8-8 Enter the Domain Name Window
Step 13
Enter ping to ensure that the workstation and the domain is reachable.
Step 14
Figure 8-9 Choose Destination Directory Window
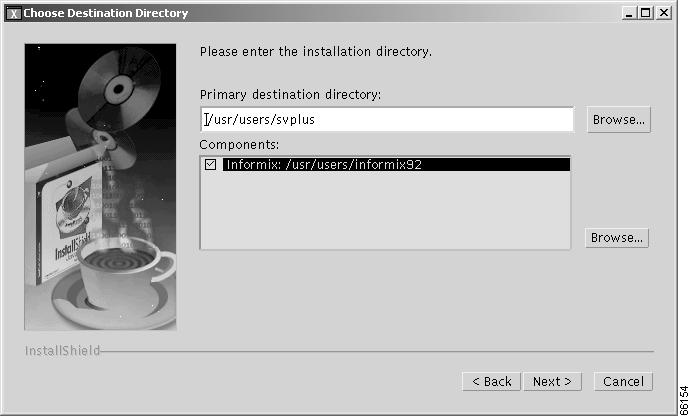
In this release only the default directory (/usr/users/svplus) is be used.
Step 15
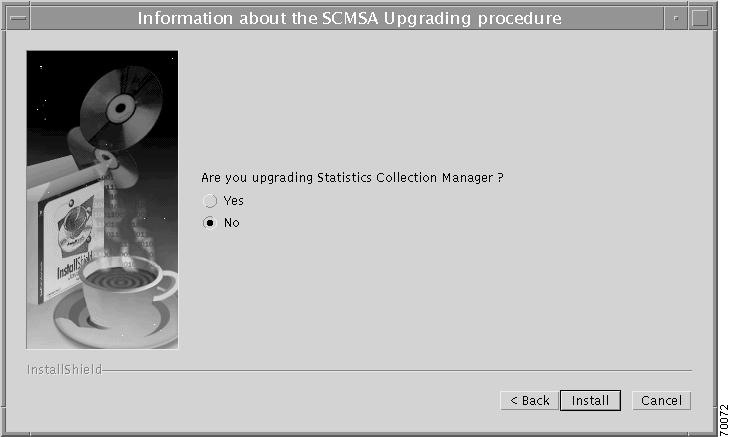
The upgrade window is displayed only if option 1 or 3 was selected in the Install Standalone Collection Server and Parser window (see Figure 8-2), otherwise the next window to be displayed is the Installation Progress window (see Figure 8-11).
Figure 8-10 Information about the SCMSA Upgrading Procedure Window
Step 16
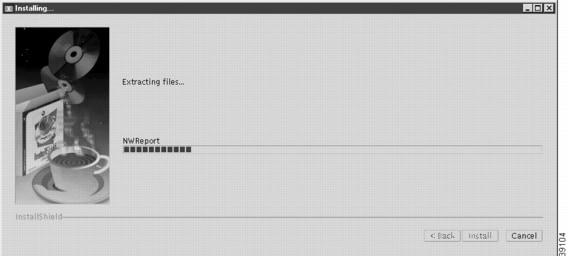
The software installation process begins. This process will take from 30 to 60 minutes depending on the speed and resources of the workstation you are installing the standalone SCM application on. The installation window shows a dynamic indicator bar, which moves across the window, indicating the progress of the installation process, as shown in Figure 8-11.
Figure 8-11 Installation Progress Indicator (extracting files)
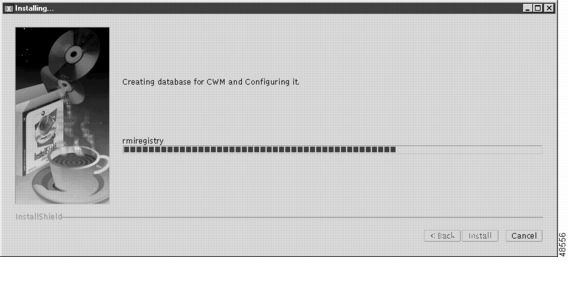
After extracting the necessary SCM program files, the window refreshes, and the installation process begins creating and configuring the database. The installation window shows a dynamic indicator bar, which moves across the window, indicating the progress of the database creation process, as shown in Figure 8-12.
Figure 8-12 Installation Progress Indicator (database creation)
A dialog box displays informing you that the installation is complete, as shown in Figure 8-13.
Figure 8-13 Installation Complete Window
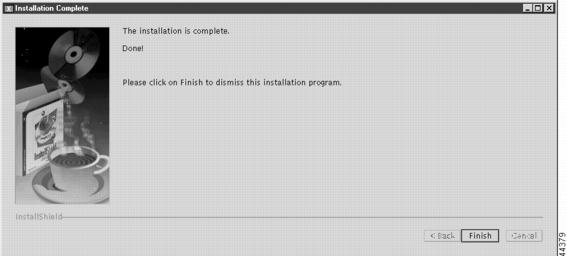
Step 17
Doing so ends the software installation process, and the Install Shield window closes.
The first time (and only the first time) that SCMSA is installed, the system displays a message at this point stating that the kernel has been changed.
Step 18
The reboot sequence aligns the cylinders of your hard disks and gracefully shuts down the Solaris operating system.
The OK prompt is displayed.
Step 19
First Time Login as User svplus
After completing the CWM Release 11 Statistics Collection Manager, Stand Alone software installation, perform the following steps.
Step 1
Step 2
Step 3
Step 4
Step 5
Move this terminal window to the upper right corner of the screen.
Step 6
Lower the height to display four lines and move this window so that it rests above the CDE menu bar. This window provides a display of workstation system messages.
Step 7
The Style Manager window is displayed.
Step 8
If you prefer to use the screen saver, highlight choice(s) and start the screen saver at 29 minutes. Start the screen lock at 30 minutes, click OK
Step 9
Do the same to all four screens, labeled One, Two, Three and Four in the CDE icon bar. In screen Four, click OK and return to screen One. This helps to conserve workstation resources.
Step 10
The next login session will come up using this same screen configuration. Click OK and close the Style Manager.
Step 11
% SCMThe first time that SCMSA is run, the database is create. The following messages are displayed.
# SCMRunning SCM for the very first time. Creating the database for use by SCM[orbixd:Server "IT_daemon" is now available to the network ][ Configuration TCP/1570/Orbix-XDR ]creating database :<scmdb>creating scm tables in database :<scmdb>dropping table collmethodcreating table collmethoddropping table collmethoddefcreating table collmethoddefdropping table node_infocreating table node_infodropping table collsvr_infocreating table collsvr_infodropping table statsdb_infocreating table statsdb_infodropping table coll_infocreating table coll_infodropping table sync_infocreating table sync_infodropping table sync_listcreating table sync_listdropping table coll_summ_listcreating table coll_summ_listdropping table file_infocreating table file_infodropping table pend_file_listcreating table pend_file_listdropping table comp_file_listcreating table comp_file_listdropping table collsvr_err_logcreating table collsvr_err_logdropping table coll_err_logcreating table coll_err_logdropping table file_queue_logcreating table file_queue_logdropping table file_transfer_logcreating table file_transfer_logdropping table file_err_logcreating table file_err_logload from collmethod.unl into table collmethodWhen the database is created, SCM displays its main menu as follows.
         Welcome to Statistics Collection Manager [Collection Server] Release
10.5.10AP.SOL Thu Nov 8 22:00:18 PST 2001
Statistics Collection Manager is being run from the workstation, "aruna" . by svplusMAIN MENU---------1) Start SCM core2) Stop SCM corex) Exitenter number or x to exit:xStep 12
Step 13
For information on configuring statistics collection using Stand Alone SCM, refer to the Cisco WAN Manager User's Guide, Release 11, Chapter 8, "Statistics Collection Manager Stand Alone".
 Feedback